- Database
- Zones
- The Shadow Odyssey
- Nu'roga
Nu'roga
| Level | 80 - 80 |
|---|---|
| Type | Instanced Indoor |
| Expansion | The Shadow Odyssey |

|
|
|||||||||||||||||||||||||||
There is a group of NPCs at Omen's Call with quests to explore the 3 new TSO instances in Fens of Nathsar.
See Shadow Odyssey Missions for a complete list.
| During the Age of Cataclysms, much of the winding mines of Nurga and the Temple of Droga were destroyed. A powerful earthquake brought down most of the old caverns, crushing hundreds of goblins and Chief Gudar, their leader at the time. The surviving goblins soon began to fight amongst themselves.Members of the Nurgan tribe denounced magic as the cause of the "big shakies" that destroyed their home. They turned from magic and mysticism to more practical pursuits, such as tinkering. |
| Contents [hide] |
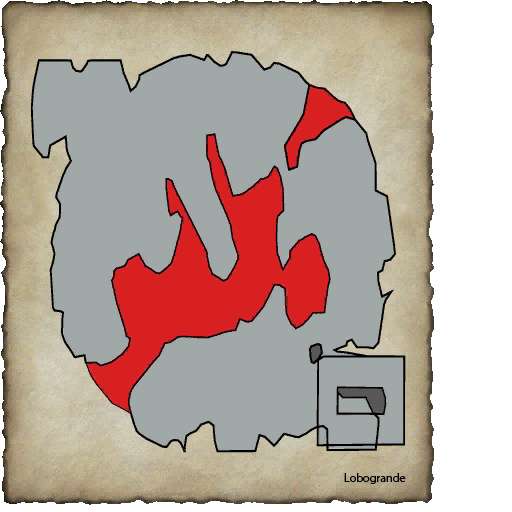
Sacrificial Chamber - Ground Floor
This is the ground floor, as well as the entrance. Zone in is safe, but don't move around too much!
Clear to the left, then go right and up the ramp to the north, circling around until you reach Bloodchief Tzabos. He will summon an elemental blaze to assist him. When you kill him Witch Doctor Bzegon will go screaming off and up the stairs, waking the horn blower. You will get waves of guards until you get to and silence the Drogan horn blower.
Chanting and Ritual Chamber - Second Floor
Clear the entire floor except for Bilthor, his handlers, and the 2 goblins Gzaxr and Rbumk. When you pull Bilthor you need to kill his handlers as you drag him to Gzaxr. Bilthor must breathe on Gzaxr to remove his protections. Then you can kill Gzaxr and drag Bilthor around the room to Rbumk and repeat. Now you can kill Bilthor.
Arcane Practice and Study - Third Floor
As you arrive on this floor you will notice that, from time to time, you are being hit by bricks. The bricks do 300-500 crushing damage, knock you to your knees, and stun your briefly. You will "hear" goblins above shouting things like "Looks out below!" and "Catch!" just before you are hit. There is nothing you can do about them until you get through this room and up the catwalks to kill the brickthrowers.
When you kill a crazed Drogan ritualist all members of the party will receive a Ghostly Channeler's Focus. This item procs Rebuke of the Summoner when activated. You will need to use this during the fight with Crusader of Rok Nilok to make him killable. Call out when you use it so the party can activate it in rotation. The effect lasts for 20 seconds and takes 3 minutes to reload so you have a maximum of 2 minutes to kill him.
On the east side of the room is what appears to be a shiny, but it is not, it is an 81^^^ mob! This is the key holder, and killing him will give you a Shiny Key. Use this to open the shard chest by the throne in the Blood Altar.
The Catwalks
Bricktop will say "Bwhaha! Yous can't touch this!" and casts a stoneskin-like buff on himself. This buff is stackable and eventually he will become untouchable. However, you can use any of the various Dispel skills to strip this buff off him! He also has a considerable knockback, so pull him back to the big platform and stand in the tent.
Blood Altar - Top Floor
Tuz'Rak is non-aggro and standing at the bottom of the steps up to the throne when you enter, and Bloodpriest Yak'Lar stands atop the altar. Clear the room, including all mobs on the throne stairs, then take Bloodpriest Yak'Lar. Nothing special, but 2 maniacal bloodletters will spawn in the pools of blood beside the altar when Yak'Lar dies. Tuz'Rak will run up the stairs to the throne and, using the Shasik Crystal, become huge and come back down to attack you. Tank and spank.
The Shard Chest stands beside the throne. Open it with the Shiny Key from ? to receive one Void Shard for each party member.
"Is good to be the King!"
Collection Quests
- Tablets of Atrebe Sathir Dynasty
- Tablets of Chottal Sathir Dynasty
- Tablets of Ganak Sathir Dynasty
- Tablets of Rile Sathir Dynasty
- Idols of Lord Venril Sathir
|


